Transforming your basement from a cluttered catch-all into an organized, functional storage space doesn’t require professional installation or a massive budget.
With creativity, basic tools, and readily available materials, you can build custom storage solutions that protect your belongings, maximize space, and adapt to your unique needs.
These DIY projects prove that effective basement organization is accessible to any homeowner willing to invest time in thoughtful planning and execution.
Key Takeaways
- Plan before you build: Measure carefully and prioritize your most critical storage challenges first
- Choose moisture-resistant materials: Invest in pressure-treated lumber, galvanized hardware, and waterproof finishes
- Start simple, then expand: Build confidence with basic projects before tackling complex installations
- Focus on flexibility: Create adjustable, modular systems that evolve with changing needs
- Prioritize safety: Secure tall units properly and follow weight limits to prevent accidents
Essential Preparation and Planning
Success begins with thorough preparation. Start by measuring your basement’s dimensions, noting ceiling heights, obstacles like support posts or utilities, and identifying problem areas where moisture accumulates. Use a hygrometer to monitor humidity levels—aim to keep them below 50% to prevent mold and protect stored items.
Address any moisture issues before building storage systems. Seal cracks with waterproof caulk, apply basement-grade paint to walls, and ensure adequate ventilation. Plan to elevate all storage at least 2 inches off concrete floors using treated lumber platforms or plastic risers.
Sketch a basic layout showing traffic patterns and storage zones. Group similar items together and position frequently accessed storage near entrances while placing seasonal or archive items in less convenient but protected locations.
For comprehensive guidance on basement organization fundamentals, explore our How to Organize a Basement: Step-by-Step Guide.
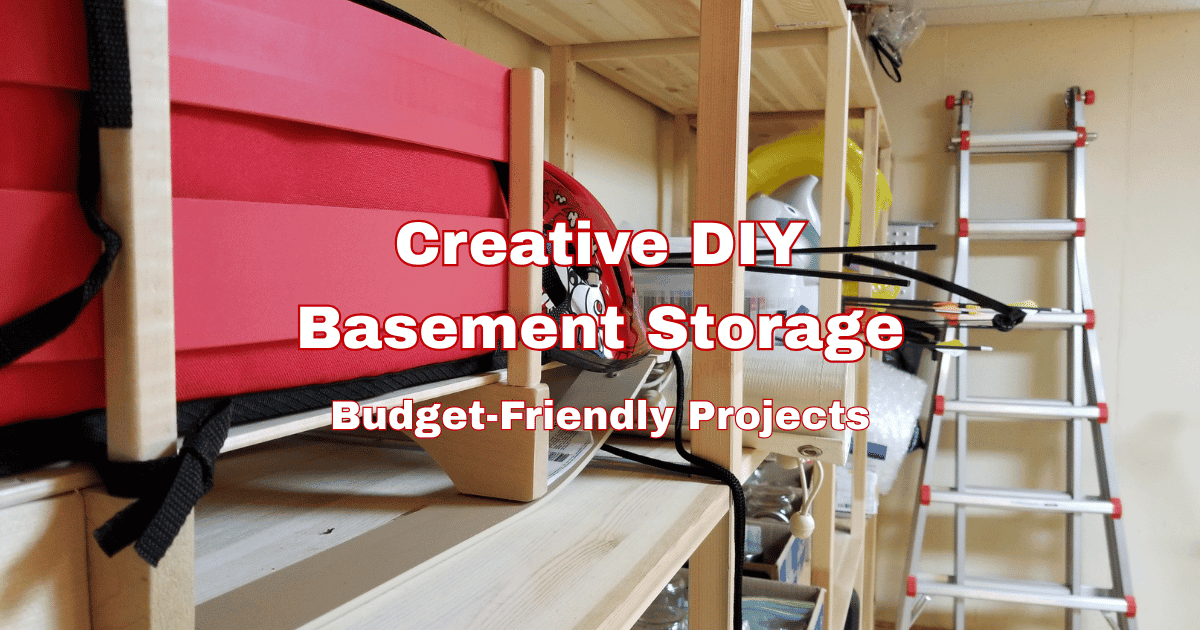
Basic DIY Shelving Projects
Building your own shelving offers the best combination of cost savings and customization. Use pressure-treated 2×4 or 2×6 lumber for frames, paired with exterior-grade plywood shelves sealed with marine-grade polyurethane or moisture-resistant paint.
Simple Fixed Shelving
Create basic shelving by cutting lumber to size and assembling rectangular frames. Add horizontal supports for stability and attach plywood shelving with wood screws. This approach costs approximately $50-80 per 8-foot section while providing decades of reliable service.
Adjustable Bracket Systems
Install metal shelf standards on wall studs, then use adjustable brackets to support plywood shelves. This system allows height modifications as storage needs change, accommodating everything from tall storage containers to low-profile seasonal items.
Under-Stair Storage
Transform wasted space beneath basement stairs by building custom shelving or pull-out drawers. Measure carefully to maximize the available area while maintaining comfortable access. Add doors or curtains to conceal stored items while preserving the basement’s appearance.
These projects typically require only basic carpentry skills and common tools, making them accessible to most homeowners while delivering professional-quality results.
Creative Storage Solutions and Hacks
Repurposed Furniture Projects
Give old bookcases, kitchen cabinets, or entertainment centers new life as basement storage. Clean thoroughly, apply moisture-resistant finishes, and add organizational accessories like shelf dividers or drawer organizers. This approach provides immediate storage capacity while keeping usable furniture out of landfills.
Pegboard Organization Systems
Install pegboard panels on basement walls to create flexible tool and equipment storage. Customize with hooks, baskets, and small shelves to accommodate tools, sporting goods, craft supplies, and household items. The modular design allows easy reconfiguration as needs change.
Overhead Storage Racks
Mount wire shelving or wooden platforms between ceiling joists to store lightweight, bulky items like holiday decorations and camping equipment. Secure mounting hardware directly to structural members and never exceed recommended weight limits. This approach utilizes often-wasted overhead space while keeping floor areas clear.
Mobile Rolling Carts
Build or assemble wheeled storage units that move between different basement areas as needed. Perfect for cleaning supplies, project materials, or seasonal items that benefit from portability. Choose heavy-duty casters with locks to prevent unwanted movement during use.
Advanced DIY Projects for Experienced Builders
Custom Cabinet Construction
Experienced DIYers can build complete cabinet systems using plywood construction and proper joinery techniques. Add bi-fold doors, pull-out drawers, or specialized storage features like wine racks or tool organizers. These projects require more advanced skills but deliver furniture-quality results.
Built-In Storage Benches
Create multi-functional seating with hidden storage compartments perfect for finished basement areas. Use quality materials and finishes to match surrounding décor while providing substantial storage capacity for linens, games, or seasonal items.
Floating Shelf Systems
Install wall-mounted shelves that appear to “float” without visible brackets for a clean, modern appearance. These work particularly well in finished basements where aesthetics matter alongside functionality.
Material Selection and Procurement
Choose materials specifically suited for basement environments. Pressure-treated lumber resists rot and insect damage, while galvanized or stainless steel hardware prevents rust in humid conditions. Avoid untreated wood and materials that absorb moisture, as they deteriorate quickly in basement conditions.
Purchase materials during seasonal sales for maximum savings, and consider buying in bulk for multiple projects. Many lumber yards offer cutting services that can save time and ensure accurate dimensions for your projects.
Installation Safety and Best Practices
Safety should always be your top priority. Secure all tall shelving units to walls using appropriate anchors for your wall material—masonry anchors for concrete block walls, heavy-duty toggle bolts for drywall installations. Never rely solely on weight or friction for stability.
Distribute loads evenly across multiple support points and place heaviest items on lower shelves to prevent top-heavy conditions. Use levels and measuring tools to ensure proper alignment, and test stability before fully loading any storage system.
Install adequate lighting for safe access to all storage areas. Battery-operated LED lights provide excellent illumination without requiring electrical work, while motion sensors add convenience for hands-free operation.
Organization and Maintenance Systems
Effective organization extends beyond building storage—it requires ongoing systems that maintain order over time. Use clear, labeled containers for easy identification and establish designated locations for all stored items. Color-coding by category or season further streamlines organization and retrieval.
Establish regular maintenance routines including quarterly inspections for moisture damage, pest intrusion, or structural issues. Schedule seasonal rotation of stored items to prevent compression damage and ensure appropriate access to seasonal belongings.
Involve all family members in maintaining organization by establishing clear expectations and simple systems for returning items to proper locations.
Budget-Conscious Strategies
DIY storage projects can accommodate any budget through strategic planning and phased implementation. Start with essential storage needs and expand your system over time as resources allow. This approach provides immediate benefits while spreading costs across multiple time periods.
Look for free or low-cost materials through construction surplus stores, online marketplaces, or community exchange programs. Old pallets, shipping crates, and discarded furniture often provide excellent raw materials for creative storage solutions.
Consider tool sharing or rental for specialized equipment needed for single projects rather than purchasing seldom-used tools.
For additional product guidance and system recommendations, explore our comprehensive Basement Storage Solutions: Products & Systems That Work.
Long-Term Success and System Evolution
The most successful DIY storage systems adapt to changing family needs over time. Design projects with expansion capabilities and choose modular approaches that allow reconfiguration without complete replacement.
Plan storage systems that can grow with your household, accommodating new hobbies, changing family composition, or evolving storage requirements. Adjustable components and modular designs provide flexibility that rigid systems cannot match.
Document your projects with photos and notes for future reference and maintenance. This information proves valuable for repairs, expansions, or similar projects in other areas of your home.
RFor guidance on optimizing dedicated storage areas with advanced techniques, visit our resource on Basement Storage Room Ideas: Maximize Your Dedicated Space.
Conclusion: Making Your DIY Investment Pay Off
DIY basement storage projects offer benefits beyond simple cost savings—they provide complete customization for your unique space and requirements while delivering the satisfaction of creating functional solutions with your own hands.
Start with simple projects to build skills and confidence, then progress to more complex installations as your comfort level increases. The combination of money saved, perfect fit achieved, and personal satisfaction makes DIY basement storage projects worthwhile investments in your home’s organization and functionality.
For complete guidance on basement storage planning from initial assessment through advanced organization techniques, visit our comprehensive Complete Guide to Basement Storage: Ideas, Solutions & Organization Tips.