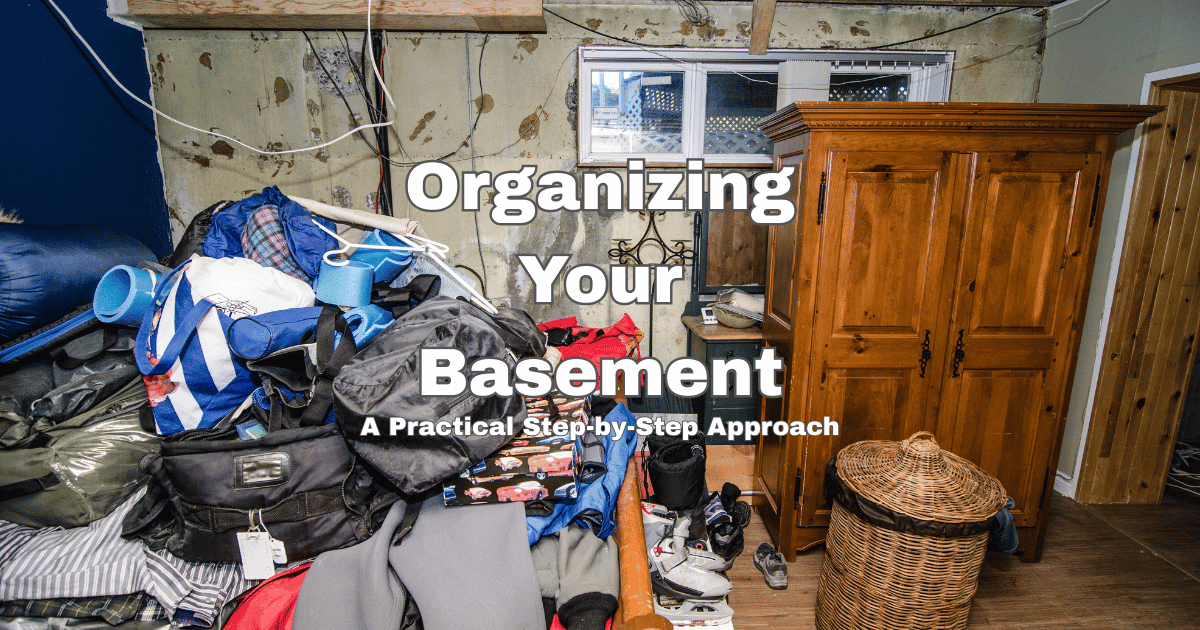
A basement shouldn’t be a catch-all for forgotten boxes, holiday décor, and random hand-me-down furniture. With a practical, stepwise plan, even the most cluttered basement can become a clean, accessible zone that works for your lifestyle. Whether you’re prepping for a full overhaul or want to tackle your storage one weekend at a time, this guide breaks down the process into easy-to-follow phases—supported by real-life tips, modern organizing strategies, and expert maintenance routines.
Key Takeaways
- Tackle moisture, safety, and decluttering before buying bins or shelving.
- Organize by zones and use vertical space for maximum impact.
- Choose durable, labeled containers and shelving to simplify maintenance.
- Embed maintenance into your routine to keep clutter from returning.
Step 1: Declutter and Take Inventory
Start by clearing a block of time—organizing a basement is easiest if you don’t rush. Bring empty boxes or bins labeled “Keep,” “Donate/Sell,” “Trash,” and “Move Elsewhere.” Systematically sort every item. For motivation and clarity, play music or work with a friend. Use the “one-year rule”: If you haven’t used an item in a year, let it go.
As you sort, keep an inventory list of what you’re keeping, either on paper or digitally. This helps prevent duplicate items in the future and guides what kinds of storage solutions you’ll need. This step gives you a blank slate and a clear idea of what actually lives in your basement.
Step 2: Assess the Space and Identify Zones
Once you’ve decluttered, take a walk through your now-visible basement. Measure the room, doorways, ceiling height, and note any obstructions like posts or sump pumps. Make a sketch and divide the space into zones based on purpose: for example, family keepsakes, seasonal décor, sports equipment, pantry overflow, laundry area, or tools.
Place frequently used zones closer to the stairs or main entrance. Less-accessed zones—like archives or out-of-season storage—can go toward the back or on higher shelves. Dedicating spaces keeps the basement from becoming a chaotic dumping ground again.
Step 3: Address Moisture, Lighting, and Safety
Before bringing in shelves and bins, focus on basics that protect your stored items. Check for leaks, recurring dampness, and signs of mold. Run a dehumidifier if humidity is over 50%, and seal cracks with waterproof caulk or masonry sealer. If your basement floods periodically, raise everything at least 2 inches off the floor using pallets or risers.
Ensure there is sufficient lighting—install LED bulbs or strip lights in dim corners. Keep utility areas (HVAC, breaker panels) accessible and free of clutter. For additional protection, consider pest-proofing zones used for food or clothing with airtight bins and deterrents.
For unfinished basements, visit our resource on budget-friendly storage solutions for unfinished basements.
Step 4: Select Storage Systems and Shelving
With a dry, clean canvas, it’s time to plan real storage solutions. Sturdy metal or heavy-duty plastic shelving is ideal for basements, as they resist moisture and last for years. Wall-mounted shelves save floor space, while adjustable units let you reconfigure as your needs change.
Pro Tip: Use overhead racks for seasonal items and under-stair cubbies for smaller categories. Select stackable, clear-lidded bins to make contents visible, or use a bold marker/label to flag what’s inside. Shelving should be rated to hold the right weight—heavy items on the bottom, lighter ones above. Visit our guide to the best basement shelving—DIY and store-bought options for reviews and installation walkthroughs.
Step 5: Implement Your System and Organize by Category
Begin by placing shelving, bins, and furniture according to your mapped-out zones. Store like with like, grouping categories together, and leave space for future additions. Label each bin clearly; color-coding can make retrieval easier for family members (e.g., blue for holidays, yellow for sports gear).
For efficiency, keep most-used items within easy reach, rarely used items toward the back or up high. Use drawer units, pegboards, and hanging hooks for flexibility. If your space is limited, read our article on creative ideas to maximize every inch of your basement.
Step 6: Routine Maintenance and Staying Clutter-Free
No system survives without maintenance. Schedule quarterly check-ins—even a quick 15-minute tidy keeps things in shape. Refresh or fix labels, dust shelving, and purge expired or broken items. Store a basic tool kit and cleaning supplies on a dedicated shelf.
Encourage everyone in the household to return items to their proper zone. If you notice categories overflowing or zones becoming catch-alls, it’s time for a refresh. For a maintenance system you’ll actually use, and to discover organization routines that really stick, see our guide to organization systems that actually work.
Step 7: Upgrade, Repurpose, and Evolve
As your family grows or hobbies change, revisit your plan. Upgrade to modular or built-in solutions, add cabinet systems or overhead racks when needed, and rotate rarely used items out of the way. Repurpose unused bins, add DIY features, or revisit your zoning strategy annually to keep things relevant.
To explore furniture and storage that upgrades finished spaces, visit our ideas for stylish, functional finished basement storage.
Your Next Steps
Organizing your basement doesn’t have to be daunting. Whether you’re dealing with decades of clutter or simply want more efficiency, this step-by-step method sets you up for success—and makes maintenance a breeze. For a comprehensive overview of basement storage, including advanced planning, buyer’s guides, and real-life examples, head over to our Complete Guide to Basement Storage: Ideas, Solutions & Organization Tips.
With these steps, your basement can become a stress-free storage haven—flexible, spacious, and truly organized for the long haul.